

The Secret to a Perfect Loaf of Bread Every. Single. Time.
How many of you have tried baking bread and were left with a dense and disgusting mess?
What if I told you that you were doing it all wrong? The key to bread making is general chemistry. If you mess with the food chemistry of the chemical reaction, disaster will ensue.
There’s different types of breads:
Quick bread. This style of bread uses baking soda and baking powder as your leavening agent. These breads tend to be sweet. Examples include: pumpkin bread, lemon poppyseed bread, and chocolate zucchini bread.
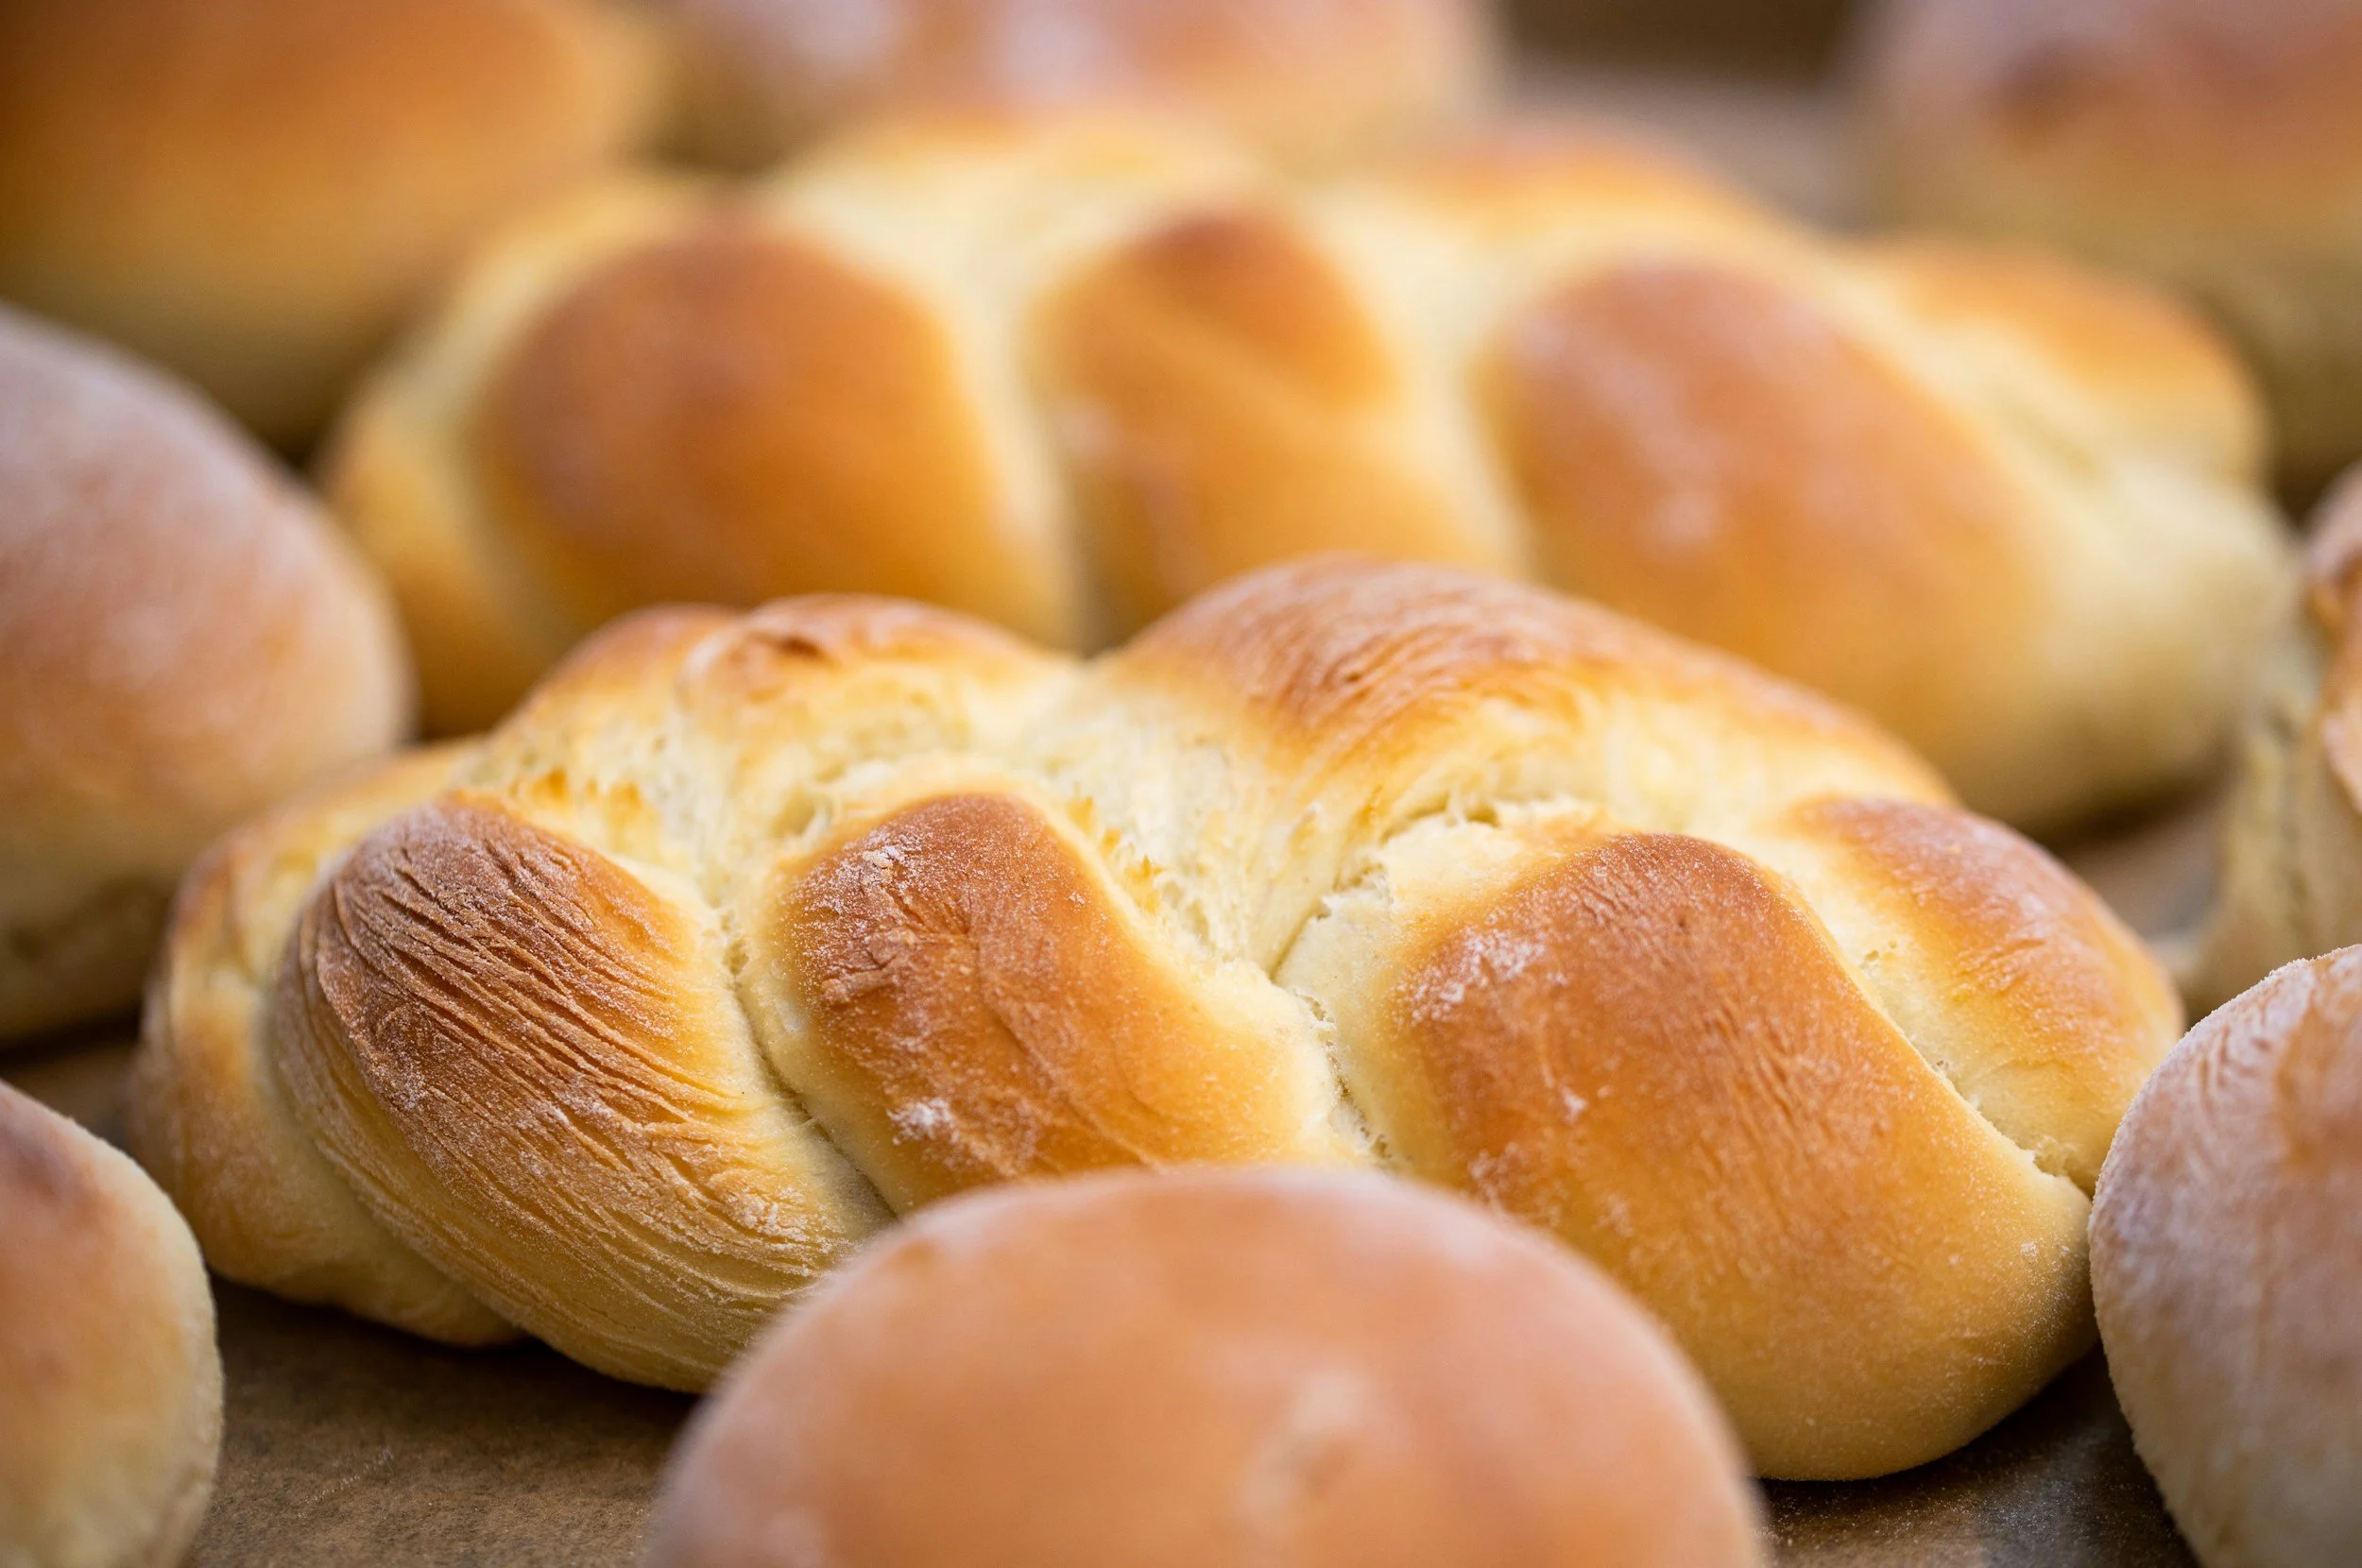
Yeasted bread. Yeast (Saccharomyces cerevisiae) is your leavening agent for this type of bread. Examples include: focaccia bread, white bread, and challah bread.
Sourdough bread. This uses sourdough starter as your leavening agent.
There’s a 4th category that’s a little subjective in its classification. It uses cold butter as the primary leavening agent. When the cold butter rapidly melts in the oven, it forms a gas and that’s why the dough rises. You go from solid —> liquid —> gas because the intermolecular attractions within the butter continue to break as the dough heats up in the oven. This is an example of an endothermic reaction because the system (the dough) is absorbing heat (energy). Examples include: biscuits and scones.
I consider myself an expert cook/baker, but my bread and butter (no pun intended) is in bread baking. I’ve made challah bread, white bread, biscuits, apple fritter yeast bread, focaccia bread, peasant bread, etc.
When I was fairly new to cooking, I wanted to make cinnamon rolls from scratch. However, yeast intimidated me because I knew it was technique sensitive. I didn’t think I had enough experience to tackle that beast. Senior year of high school, I took a nutrition class and it had a cooking component. I learned how to work with yeast when we made cinnamon rolls. This opened up my world and I was hooked to keep making bread at every chance I had.
I’ve spent about 10 years perfecting my bread baking skills.
How to make the perfect yeast bread every time:
Patience, Patience, Patience!!!! This is arguably the MOST important thing to making a great yeasted bread. Yeast is a fungus and it’s essentially in a dormant phase before you add it to water. Active dry yeast requires 5-7 minutes for proofing before you incorporate it with the rest of your ingredients. You won’t see anything at first, but after 7 minutes you’ll start seeing bubbles and this tells you your yeast is alive. After the yeast is incorporated with the rest of the ingredients, it needs more time to reproduce and form gases. This is why you need to allot enough time for it to rise.
Prep in advance. Usually yeasted breads require a 2-3 hour rising time. I almost always forget about the rising time when I’m making bread. Don’t do what I do. Read the recipe a day before you plan to make your bread. It’ll help you plan out your time.
Food scale. It saves time and is accurate.
Make sure your yeast is not old. I prefer to use active dry yeast even when a recipe calls for instant yeast, because you know if you killed your yeast on accident during the proofing time for active dry yeast. It’s a little more work on the front end, but it’s worth it. If you use instant yeast and accidentally kill it, you won’t know it’s dead until 3 hours later. You’ll know your yeast is dead if your dough is dense and didn’t rise.
Use bread flour whenever you can. This gives you a chewier dough and is perfect for white bread. I find that bread flour is essential for a great cinnamon roll.
Food thermometer.
Use a glass bowl for proofing the yeast. Metal bowls and utensils can affect the taste of the bread because of a chemical reaction.
Wooden spoon.